Kitchen Reset: Because Your Wallet is Starving

A chaotic kitchen is like a sneaky little gremlin that secretly inflates your grocery bill. Food vanishes into the abyss, clones of the same item mysteriously appear, leftovers pull a Houdini, and suddenly, the simplest dinner option is dialing for takeout. But fear not! A kitchen reset is your magic wand, making your food visible, usable, and a whole lot easier to plan meals around.
This how-to walks through a simple reset you can do in about an hour. The goal is not a perfect pantry. The goal is a kitchen that helps you buy less, waste less, and cook what you already own.

Step 1. Clear one small work zone
Start with one counter, table, or island. Wipe it down and make it your sorting area. You do not need to empty the whole kitchen at once.
Grab:
A trash bag
A recycling bag
A donation box for sealed food you will not use
A damp cloth
Sticky notes or masking tape
A pen
A basket for items that belong somewhere else
This keeps the reset from turning into a full-day project. A small work zone gives every item a temporary place to land while you decide what stays.
Step 2. Pull out food by category
Work in sections. Start with the fridge, then freezer, pantry, and spice cabinet. Pull out one category at a time instead of emptying everything at once.
Good categories include:
Proteins
Dairy and eggs
Produce
Leftovers
Grains and pasta
Canned goods
Snacks
Baking items
Sauces and condiments
Spices
Grouping food shows you where money is hiding. You may find three open jars of salsa, two bags of frozen peas, or enough pasta for several dinners.
Step 3. Toss what is unsafe or unusable
Check dates, smell, texture, and packaging. Expiration dates can be confusing, but spoiled food is easy to spot. Throw away anything moldy, leaking, swollen, or questionable.
Then remove items you realistically will not cook. If a sealed item is still good and your local food pantry accepts it, set it aside for donation.
This step saves money because it stops bad food from taking up valuable space. When the fridge is packed with items no one will eat, the usable food gets lost.

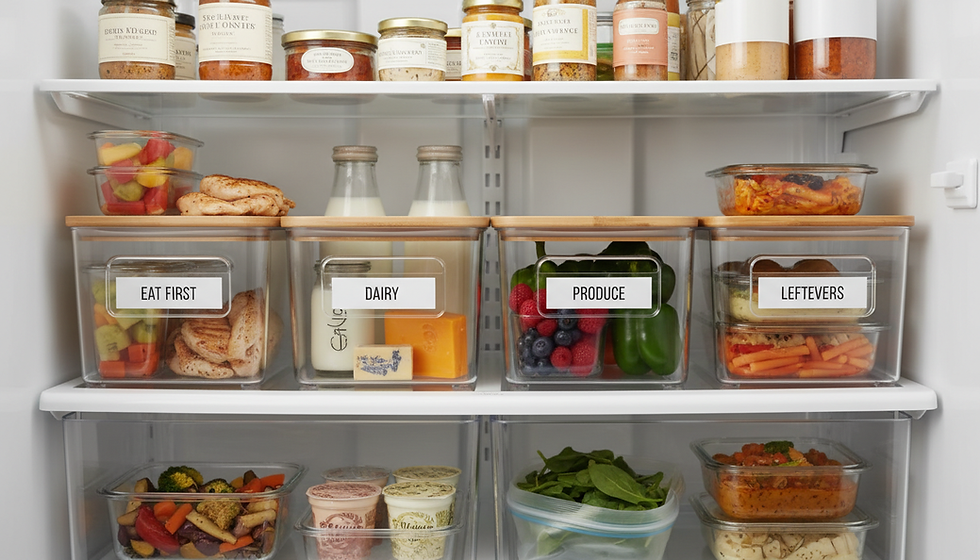
Step 4. Make an eat-first bin
Create one eat-first bin in the fridge and one in the pantry if needed. Use any basket, clear container, or shoebox-sized bin.
Put these items inside:
Produce that needs to be used soon
Yogurt, cheese, or deli items close to the date
Open crackers, cereal, chips, or snacks
Partial bags of grains or pasta
Leftovers from the last few days
Label it `Eat First` so everyone knows the plan. This one habit can cut waste quickly because it turns random items into a visible priority.
Before shopping, check this bin first. If it contains spinach, eggs, and tortillas, breakfast burritos or quesadillas can go on the meal plan.
Step 5. Take inventory before making a grocery list
Trying to remember your grocery list is like playing a game of "Oops, I Did It Again" with your cart—hello, 12 jars of pickles! But basing it on inventory? That's the secret sauce for keeping your wallet from going on a diet!
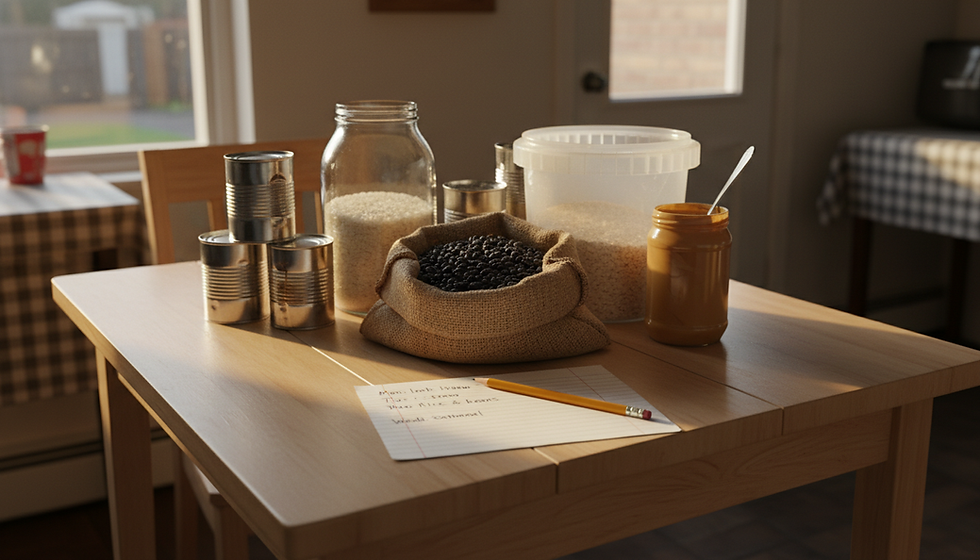
Write down what you have in three simple groups.
Fridge | Freezer | Pantry |
Milk, eggs, lettuce, cheese | Chicken thighs, peas, bread | Rice, beans, pasta, canned tomatoes |
Keep it simple. You do not need a spreadsheet unless you enjoy one. A notebook page, phone note, or whiteboard works.
Mark items that can become meals. For example:
Rice plus beans plus salsa
Pasta plus canned tomatoes plus frozen spinach
Eggs plus cheese plus leftover vegetables
Chicken plus frozen peas plus noodles
Now your grocery list fills gaps instead of starting from scratch.
Step 6. Build meals around what you already own
Plan three to five meals using the inventory. Do not plan seven perfect dinners unless that fits your life. A smaller plan is easier to follow.
Use this simple formula:
Pick one protein or main ingredient.
Add one grain, bread, or starch.
Add one vegetable or fruit.
Add a sauce, spice, or topping.
For example:
Frozen chicken, rice, broccoli, teriyaki sauce
Eggs, tortillas, peppers, salsa
Pasta, canned tomatoes, spinach, parmesan
Beans, rice, corn, taco seasoning
Tuna, bread, pickles, salad greens
This is where a kitchen reset can lower your grocery bill. You stop buying whole new meals and start buying the few missing pieces.

Step 7. Create a gap-only grocery list
After planning meals, write a list of only what you need to complete them. Call it a gap list.
If you already have pasta, frozen vegetables, and sauce, you may only need ground turkey or parmesan. If you have oats, peanut butter, and bananas, skip boxed breakfast items for the week.
A gap-only list helps prevent the common budget trap of buying ingredients that do not work together. It also makes impulse buys easier to spot.
Use these list categories:
Produce
Protein
Dairy
Pantry
Frozen
Household
Before checkout, scan the cart and ask, “Does this help make a meal or replace something we are out of?” If not, put it back unless it is a planned treat.
Step 8. Reset storage so food stays visible
Put food back in a way that helps you cook.
Try these simple zones:
Breakfast items together
Lunch supplies together
Dinner staples together
Baking items together
Snacks in one bin
Open items in front
Backstock behind current items
Use clear containers only if you already have them or truly need them. Buying a full set of bins can cost more than the food you are trying to save. Repurposed jars, baskets, and shoe boxes can work well.
For the freezer, group similar items in bags or bins. Label mystery containers with the food and date. A freezer full of unlabeled leftovers is hard to use, even when the food is still good.
Step 9. Do a 10-minute weekly mini reset
The full reset works best when you follow it with a small weekly habit. Pick one day before grocery shopping and do a quick check.
Weekly kitchen reset checklist
[ ] Toss spoiled food.
[ ] Move soon-to-expire items to the eat-first bin.
[ ] Check the freezer for easy meals.
[ ] Check pantry staples before buying more.
[ ] Plan three to five meals.
[ ] Write a gap-only grocery list.
[ ] Wipe one shelf or drawer.
[ ] Put snacks, breakfast, and dinner items back in their zones.
This keeps the kitchen from sliding back into clutter. It also makes each grocery trip more intentional.

What success looks like
A good reset does not mean every shelf looks perfect. It means you can open the fridge and know what needs to be eaten. You can check the pantry and avoid buying a fourth box of pasta. You can plan dinner without guessing.
Start with one area today. Make the eat-first bin, write a quick inventory, and build your next grocery list from what is already in the kitchen. The savings come from small choices repeated often, and the reset gives those choices a clear place to start.

Comments